Create a Pruning Tree
Once all the leaf nodes have been assigned meaningful values for each indicator, you can continue on to perform analysis on the tree. The basic kind of analysis used is called Pruning. While it it not as accurate as other methods, it is a simple analysis method which is easy to understand.
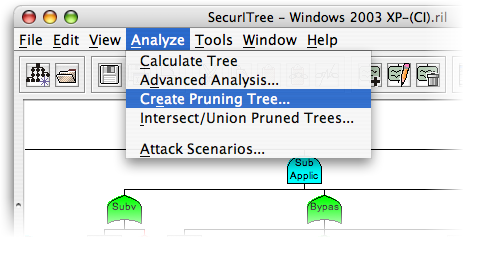
To create a pruning tree, click on the Analyze menu, and then select Create Pruning Tree.
Create a Pruning Tree (2)
You will be prompted to enter a name; this is generally the name of the particular adversary. In our example, we will be pruning based on a script kiddie's abilities.
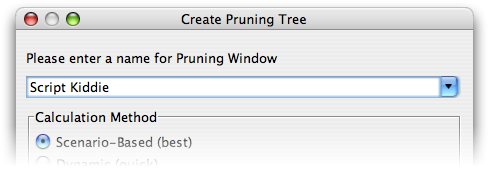
We assume that a script kiddie, while by definition having access to computers (perhaps belonging to his parents, or school), does not have much money to spend on attack-related equipment. Furthermore, he is unlikely to posess a great degree of computer skills. While downloading and perhaps compiling exploit code from the Internet is well within his skill level, it is unlikely that he can discover and exploit an unknown buffer overflow, for example.
Define Adversary's Capabilities

Now that we have decided what resource and skills our stereotypical script kiddie possesses, we can now define this within the profile. Click on the black hat icon in the toolbar to define our adversary's abilities.
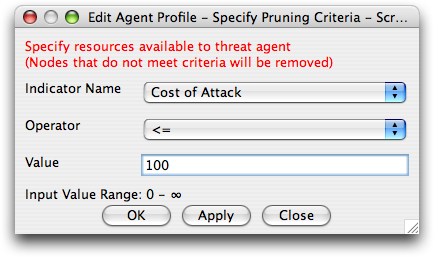
Select the Indicator Name (for instance, Cost of Attack), the Operator (usually <= for ranged indicators), and the value (in this case, $100).
This means that we assume our adversary cannot spend more than $100 on a particular attack. Repeat this for all the indicators in your tree, clicking Apply after each. When you are complete, hit OK to return to the tree.
Define Adversary's Capabilities
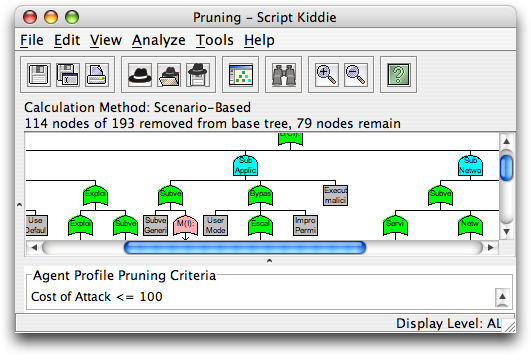
You will now see that a number of nodes have been removed. These are the attacks which are beyond the capability of the attacker. For instance, if an attack cost $1,000 and we assume the attacker only has $100 at his disposal, then the attack is removed from the tree.
Attack Scenarios of Pruned Tree
By clicking on the Analysis -> Attack Scenarios menu item, you can now see which attacks are still available to the adversary given the limitations as previously defined.
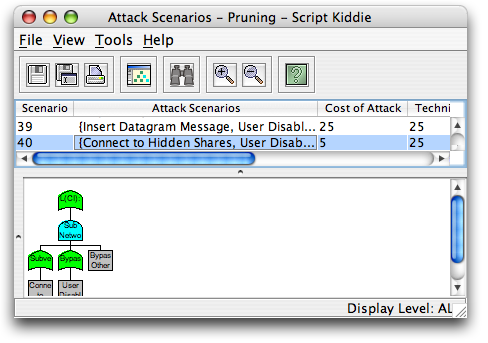
Note that there are now only ~40 possible scenarios, as opposed to over 500 before pruning. By allowing analysts to focus on a smaller subset of attacks, SecurITree can help in the process of determining which vulnerabilities are more critical than others.